Showing posts with label Blue eyeshadow. Show all posts

Wednesday, November 9, 2011

[Tutorial] Blue Emerald Make-Up Tutorial


Hey everyone!
This one will give the impression that it has some similarities to "The Heart of Eternity" look. However, you'll realize that it's nowhere close: this would be more of the warm-tone appropriate look.

Let's Begin!


Before the pictures were taken, 
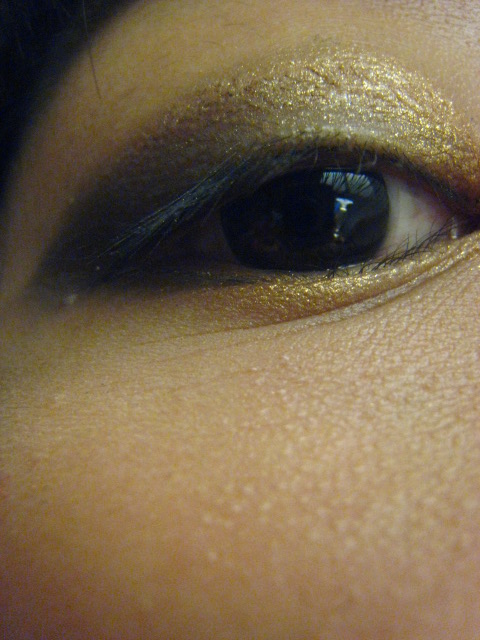
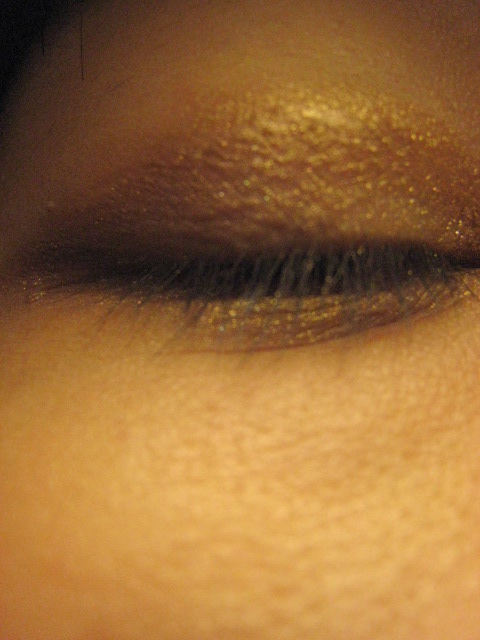
I applied MAC's Woodwinked on the inner corner all the way to the centre of the eyelid. 
(sorry these pictures were taken from some other time...)


I then applied MAC's Blue Storm on the outer corner, blending softly to the middle. 
Like other tutorials, I created a sharp wing instead of blending out the edges.
If you want more drama, blend Blue Storm with mixing medium and pack it on the other corner.
I kept it natural because I like it natural.


I just thought the look is a bit too simple and wanted to add something on top.
I therefore applied Chanel's Illusion D'ombre in 84 Epatant on the centre of the eyelid.
(If you want a review on the product, please click here)


And I also had Illusion D'ombre on the lower lid. 
This method will give you that pop on your eyes and also that innocent and teary-looking eyes.
(make sure that you don't overdo it though...!)
Finish off with Blitz and Glitz.


And... that's the end of the "Blue Emerald" tutorial :)


xoxo
cynthia.

Tuesday, November 1, 2011

[Tutorial] The Heart of Eternity Make-Up Tutorial


Hi everyone! I was requested (by my friend) for a quick and inexpansive party look that will suit her blue dress. I don't really wear blue eyeshadows because my face is very warm-toned; however, this was a special occasion and I decided to try anyway.


Information and Picture Credit of "The Heart of Eternity":
http://mostexpensivediamond.org/


Let's begin!


Apply a primer first and use L'Oreal Colour Infallible Eyeshadow in #15 Flashback Silver in the inner corners of your eyes and just below your lash line. This will really give that pop to your eyes. One warning, though, is that this shadow has quite a bit of fall-out so you will want to reduce the amount by wetting your brushes before applying eyeshadows.


Next, take MAC's Blue Storm pigment and apply it on the outer corner and just above the crease (and if you don't want such sharp edges like my look, then blend the sharp edges of the eyeshadows). Blend the center of the eyelid with a blending brush so that Blue Storm and Flashback Silver can create a nice gradation.


Finish the look (yes, it's almost already finished) with MAC Blitz & Glitz eyeliner. Since it is a party look, create a wing to accentuate the eyes. Connect the wing with the lower eyelash and make the lower wing to fade away.


And that's it for the eyes! To move on, I will avoid using any bright red eyeshadow to avoid looking like a clown. Only clowns wear blue eyes, red noes, red cheeks and red lips. Instead, I'll use bronzer to give some contouring (FitMe! in Light Bronze).

Same logic goes for the lips. My advice is to use warm-toned nude lipstick.


Now, this is the final look of "The Heart of Eternity". According to mostexpensivediamond.org, this is the eighth most expansive diamond. This 27.64 carats (5.528g) daimond from South Africa is rated as Fancy Vivid Blue. This make-up is as illuminating and breathtaking as the diamond is.  Have fun :)


xoxo
cynthia.

Monday, October 10, 2011

[Tutorial] Starry Night


I came up with this make-up named "Starry Night", inspired by Van Gogh's masterpiece.


(Credit: Click here for the enlarged view of Starry Night)

Although I know nothing about art, it's a masterpiece of my all time favourite.
I love drawings or paintings that look like a real-life image or scenery but Van Gogh was an artist who led me to open my eyes to the world of abstract art.


Dark navy shade (although it looks black) was to create as the night sky, while golden eyeshadow was to create the stars and the moon. This make-up is great for club night but also great for day-time make-up with lighter intensity.


So, let's begin! 


The first two steps are just like the Trip To El Dorado" (Click here for the link to the tutorial): use GL02 (Missha The Style Metallic Eyeshadow) on both the inner corner and the lower eyelid. 


Then, apply MAC's Woodwinked on the outer corner. 
If you want more dramatic look, apply Woodwinked to crease and blend it upwards.  


Then, take Almay Eyeshadow Trio Smoky in Smoky Blue and 
add the deep blue shade on top of Woodwinked (outer corner and crease).


Brush off the excess and, using a fluffy brush, 
blend the border of all three shadows on the centre of the eyelid.


I always had problem with lighting but this is the closest-to-real-life shade :)


So that's the end of Starry Night.
I used warm-coloured nude pink lipstick to finish off the look and 
minimized the use of blush to attract people's attention towards my eyes.

I hope this was helpful and if you liked this post,
please subscribe my blog or follow me on Twitter!

xoxo
cynthia.