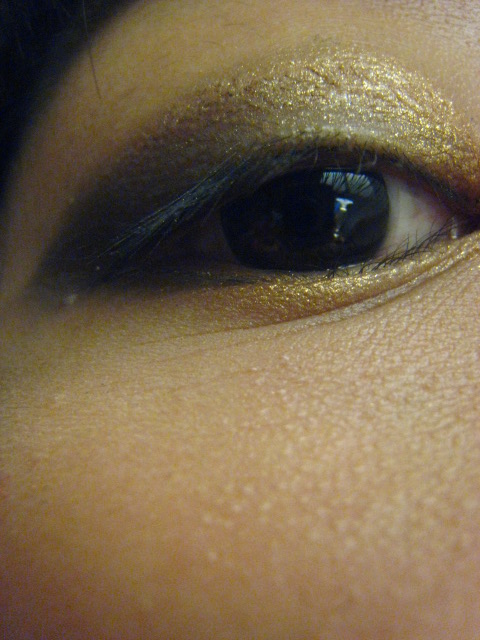
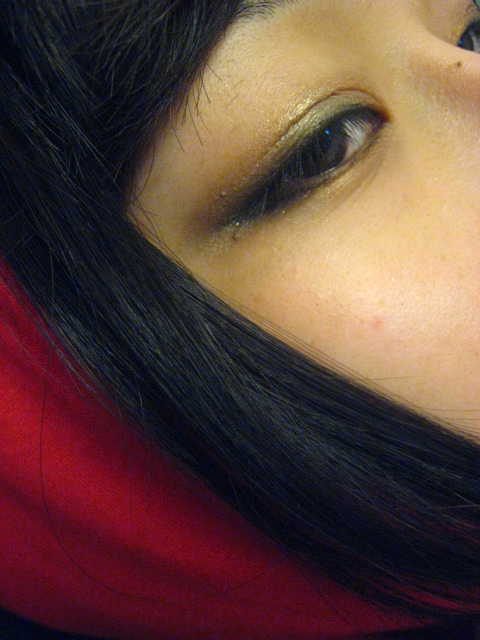
Mine came through large yellow FedEx envelope (of which I didn't take pictures of, for privacy reasons :c) with bubble wrap. I opened the envelope and was very surprised to see how many items I received as gifts.

As I mentioned before, I only purchased two contact lenses which were wrapped in red. The rest came as gifts. Yes. Gifts. They included:


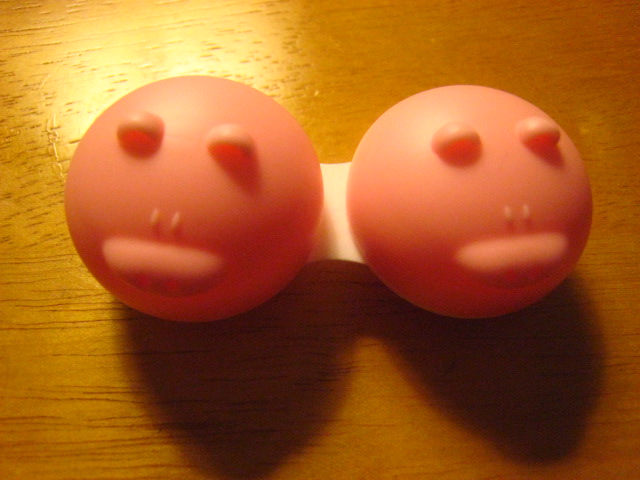

Two cute animal lens cases
(one is a piggie and another is a hippo :D)
(one is a piggie and another is a hippo :D)

A Holloween-Themed Voodo Doll... pumpkin, I guess?
(which turned out to be one of the surprise gifts for purchasing two lenses)

A Collagen Crystal Eye Bag Mask


And two pieces of velcro hair holder
(I was actually thinking of buying these on e-Bay!
This was my favourite for sure!)
This was my favourite for sure!)


And here are my contact lenses :)
Carefully wrapped and secured, although FedEx bubble wrap would've been reliable protection already. I loved how Pinkypardise.com really made me feel like a valuable customer *tears*.
Carefully wrapped and secured, although FedEx bubble wrap would've been reliable protection already. I loved how Pinkypardise.com really made me feel like a valuable customer *tears*.

The pairs were so tightly wrapped and secured that
I had to cut off the tape around in order to rescue the pair.
I had to cut off the tape around in order to rescue the pair.
This was my first time opening one of these containers (because I've previously used Acuvue Daily Contacts) and, to tell the truth, I really struggled to open the first container, but I learned how to open these caps and really had no trouble opening these anymore.


Find the direction from the cap can be opened.
Take the metal part off of the container.

This white foam was easy to open.

This pair was my prescribed Wonder Eye Grey (USD 22.90).


This was how my Wonder Eye Grey look like.
I realized that the outer rim gives breathtakingly dreamy and enlarged effect to your eyes whereas the the grey-coloured inner rim beautifully accentuates your iris (surface around your pupil).

Here's my prescribed Geo Angel Brown (USD 19.90).

This is how the contact lens looks like.
The outer rim was not as thick as Wonder Eye Grey but still gives dreamy and enlarged effect. The the inner rim looks rather thin but that's because of the curvature of the container. It completely covers your iris and creates light brown-coloured iris for Asian eyes (Dark brown eyes to medium dark brown eyes).


I took a picture of one without contacts and one with contacts for comparison.
I'm wearing Wonder Eye Grey in this picture. It reeeeeeeeeeeally has enlarging effect.
It doesn't really bother much but it starts to feel uncomfortable and dries out after 5 hours or so. But of course, you shouldn't wear it longer than that :)


So here are my pictures wearing the contacts (this is me without my make-up.......)
I will update more pictures with Geo Angel Brown soon!
I hope this review was helpful and if you want more reviews on circle (or coloured) contact lenses and more make-up tutorials, please subscribe to my blog or follow me on Twitter (both available on the right column of this blog!)
xoxo
cynthia.